Category Archives: Gardening

Growing Salad in Window Boxes

You can’t beat wandering out into the garden armed with a pair of scissors and coming back a few minutes later with enough fresh veg for a nice healthy salad to accompany your evening meal.

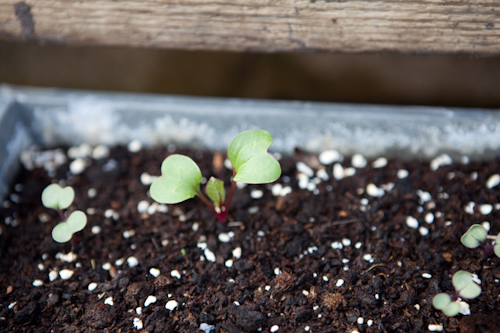
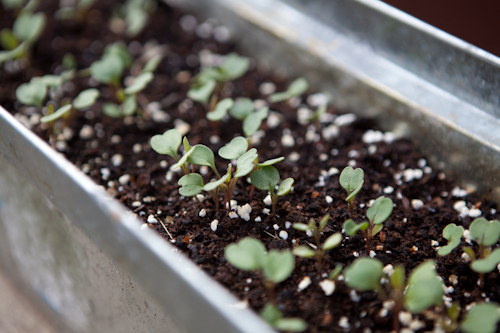
After encountering so many issues with slugs and snails munching my ground planted salads I’ve really taken to planting mixed salad leaves in containers…specifically old metal window boxes.

Mixed Salad in Window Boxes

Mixed Salad in Window Boxes-2

In the window boxes above I’ve got rocket in one and mixed leaves in the other.They only take a couple of weeks to get to the stage when you can start picking leaves. Once they get going I find just a couple of boxes is plenty  enough to keep us in salad. Invariably we neglect to pick them and they bolt or go to seed. When this happens I simply assign them to the compost bin and start again.

As well as regular lettuce leaves other options I’m a fan of are pak choi, beetroot, radish, spinach and chard. So long as you pick the leave while they are nice and young they all make interesting, tasty and colourful salads.
 

Borlotti Bungle

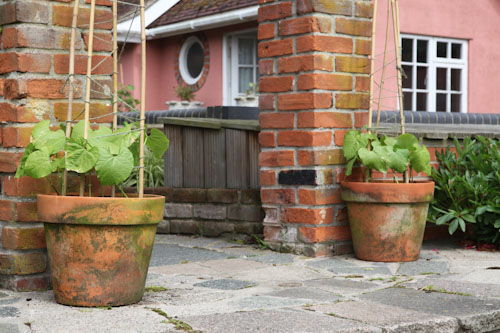
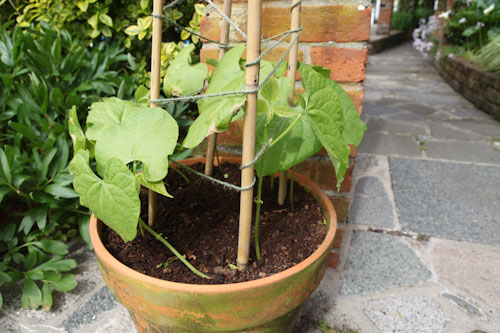
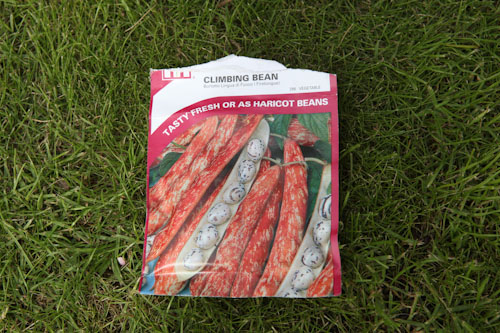
Twice in previous years I’ve made the mistake of planting bush type borlotti beans thinking they were climbers. Well, despite the packet clearly stating they are climbers i think I’ve only gone and done it again. After shooting up in the last two weeks it looks like they’re not going to get any taller.

Borlotti Bungle 1Borlotti Bungle 2

So called climbing borlotti beans

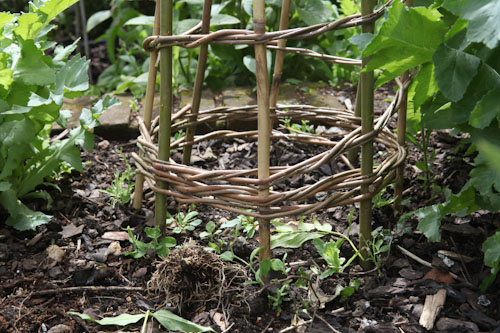
In order to avoid disappointment I’ve put in a few runner bean seeds in and around the pots the borlotti’s are in so I should have a few beans climbing up the nice tripods I made out of bamboo canes and twine.


More Sweet Peas

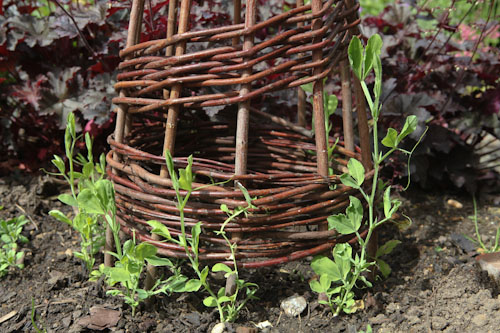
Having pinched out my sweet peas a couple of weeks ago I planted them out around a couple of wooden tripods which we bought a few weeks ago at a local gardening show.

Unfortunately disaster struck as a small rabbit managed to sneaks it’s way in to our walled garden and proceeded to munch it’s way through the sweet pea tips as well as a few other trays of seedlings I’d carelessly left out on the patio.

After getting it’s way into the garden it appeared the furry intruder was stuck inside and after a few sightings over a few days I battled in vein to catch the furry captive!

sweet peas nibbled by a rabbit

After about 5 days I managed to trap the offending rabbit behind the garden shed and with the help of a flower pot and a piece of wood I scooped it up and it was released into a ditch down the road.

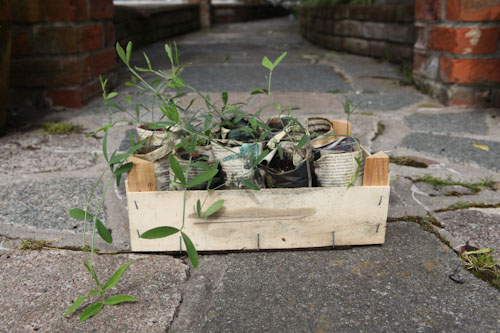
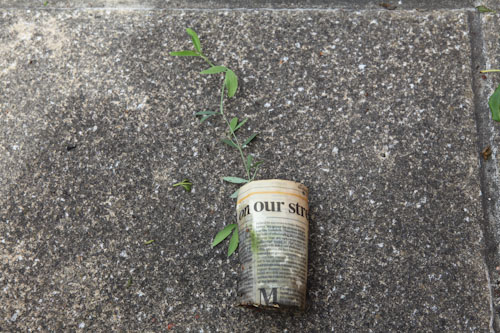
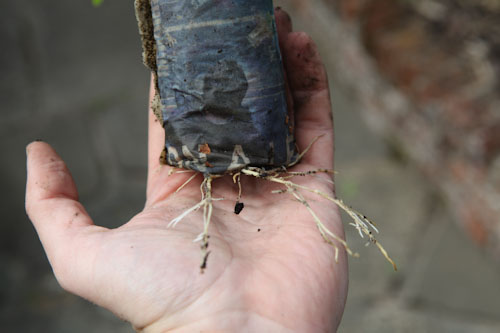
Luckily I’d got a second batch of sweet peas in the greenhouse which I’d planted directly from seed into some home made pots made from old newspapers. As you can see from the pictures the newspaper pots have worked really well and the roots of the sweet peas are bursting through them so its a great time to get them planted out in the ground.

sweet peas 2nd batchHome made newspaper potsrecycled newspaper pots

The pots were incredibly easy to make, I just rolled 2 sheets of newspaper around the end of a rolling pin and scrunched over to form the bottom of the pot. The idea is they will simply compost away once planted out, allowing the roots to grow through them.

sweet peas around a tripod

I’m not sure which variety this second batch of sweet peas is, they seem a lot thinner and more delicate than the original batch pictured above. Hopefully now the rabbit has been dispatched they’ll flourish and put on a good show of fragrant color in a few weeks time.


Pinching Out Sweet Peas

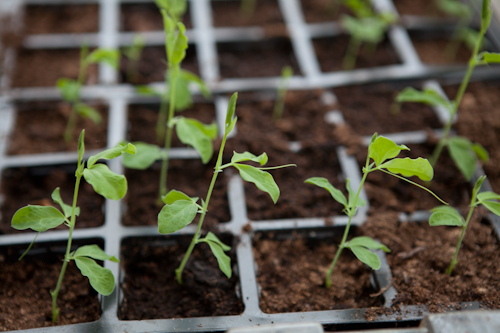
You know Spring is (should) be just round the corner when you need to start worrying about pinching out sweet peas. I planted these about 3 weeks ago. I soaked the seeds in water over night and they germinated within about 1 week.

I still think it is a bit cold to plant them out with this cold snap. Instead i’m hardening them off by putting them outside during the day and for warmer nights and bringing them back into the green house on colder nights.

Pinching Out Sweat Peas

In order to make them into bushier plants i’ve just pinched them out. Sweet peas usually benefit from this every few weeks in the early stages of growth. All i do to pinch them out is to nip off the top of the seedling just above the 2nd or 3rd set of leaves. Hopefully the weather will improve and i’ll be able to get these planted outside in the next couple of weeks.

Mint


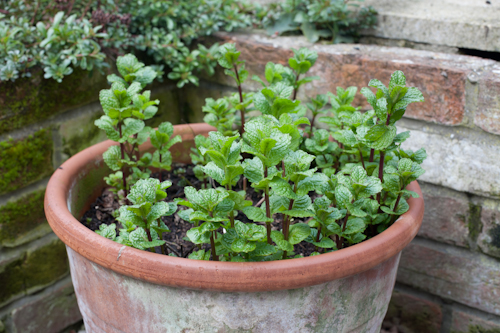
Mint is an impossible plant to kill. This plant is about 5 years old, taken from a cutting from another plant. It’s been left abused in a pot in shady spots for months, its dried out in fill sun and not been watered. No matter how badly i treat it every spring it bursts back to health and puts on lots of fresh growth.


Mint In a Pot

Mint is very vigorous an can take over borders. As a result it’s best to keep it in a pot  to stop it spreading. We keep ours in a large pot, next to the herb garden by the back door. The leaves are great for adding to salads or for garnishing deserts.

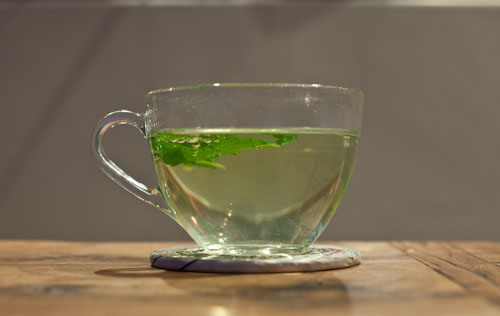
Another great way of using the leaves is to make your own mint tea. Simply click off about 5 leaves and add then to a cup of boiling water…couldn’t be simpler or more refreshing!

Home Grown Mint Tea

Flowering Rhubarb

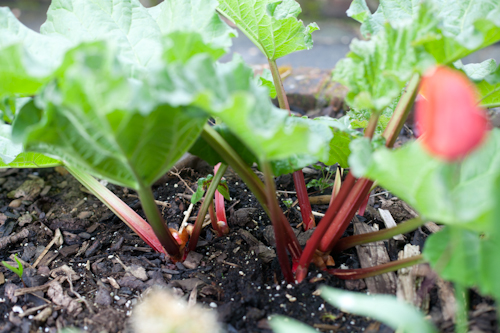
Last Spring I was given a rather large old rhubarb crown. Having split it in two and left it out in the cold I planted each half and resisted picking any stem last summer in order to allow the plants to fully establish.

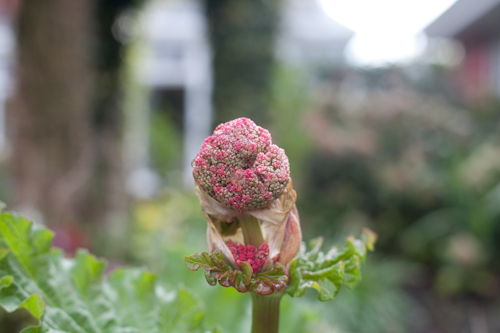
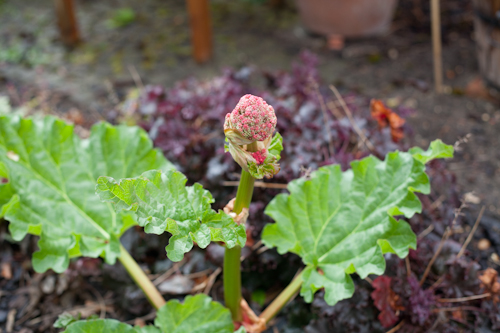
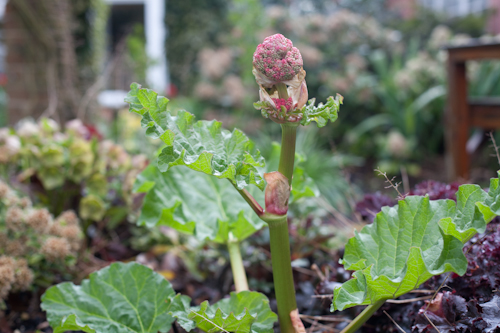
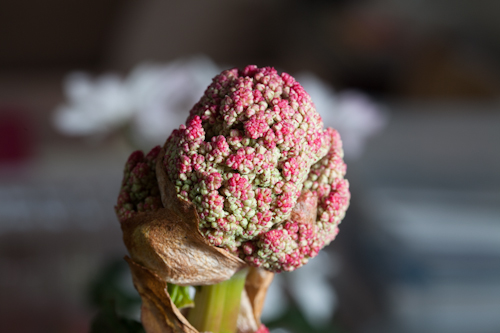
While out in the garden yesterday I noticed that one of the rhubarb plants has produced some pretty amazing looking flowers. They look a bit like purple sprouting broccoli.

Flowering Rhubarb Plant

Flowering Rhubarb Plant-2

Flowering Rhubarb Plant-3

Flowering Rhubarb Plant-4

Flowering Rhubarb Plant-5

It is a bit of a misconception that rhubarb plants flower just before they die.In this case I suspect the unusually dry winter followed by the very warm early Spring has fooled them into thinking it is late summer.

All I’ll do to this plant is to remove the flowers so that all of it’s energy can be diverted into producing more tasty stems rather than flowering with an aim to producing seed. Hopefully the plant will carry on as normal as it now looks very well established.


Aloe Vera Cuttings

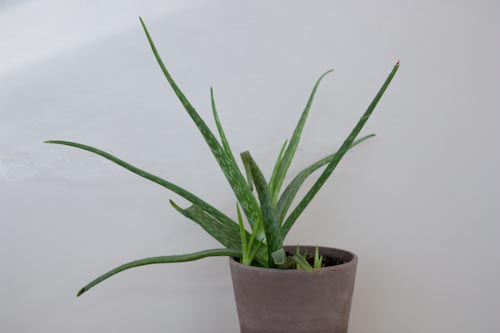
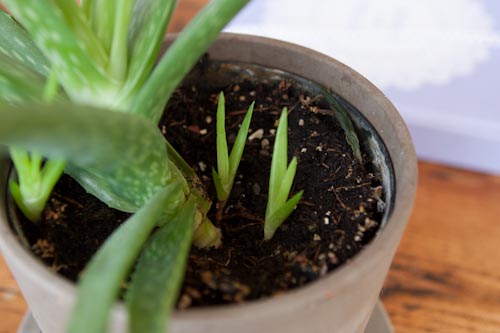
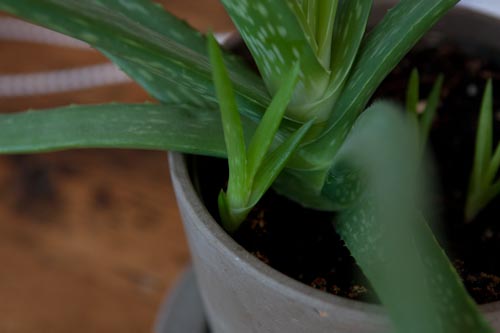
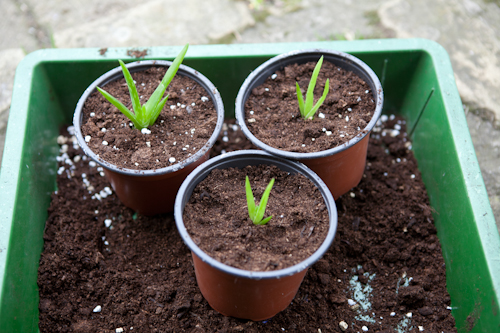
I’ve been waiting over the winter for the time to come when I could take some ‘pup’ cuttings from our aloe vera plant. As you can see from the photos below, Aloe Vera plants tend to self produce babies or pups that sprout up from the root system of the main plant.

Now that the worst of winter seems to be past us i’ve decided to finally go ahead and split these baby aloe pups from the main plant. They should make good little gifts for people over the summer.

Aloe Vera Plant

Aloe Vera Babies

Aloe Vera Big Baby

General advice seems to be to wait until the aloe vera pups have about 3 leaves of their own before trying to separate them.

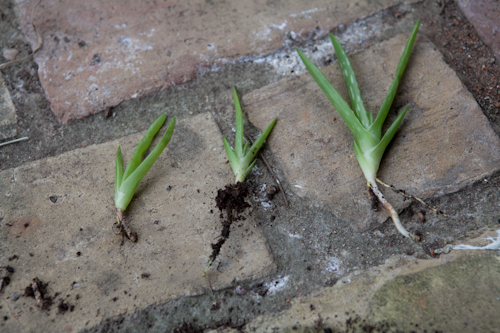
I simply dug away the soil around the pup, exposing the root system then carefully cut away from the mother plant with a sharp knife. You should leave as much of the root system on the pup as possible to help it establish itself.

Alo Vera Cuttings-2

As with any cutting it’s best to keep the freshly potted Aloe pups out of strong direct sun and spray/mist regularly with water in order to help keep them moist. I’ve put these three in a propagator to help keep the moisture levels up but a simple plastic bag would do just as good a job.


Posh Pea Shoots

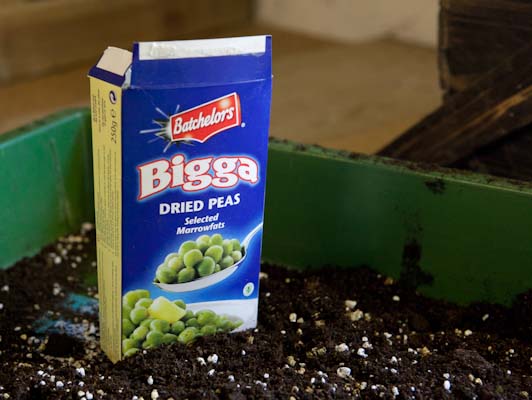
From humble beginnings great things can grow. Never has this been more true than from these dried marrowfat peas that have been languishing in the back of the kitchen cupboard for the last couple of years. Why they were even there I don’t know.

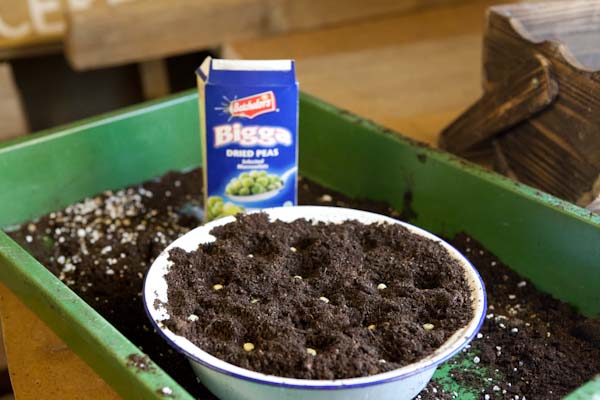
Anyway rather than consign them to the bin I thought it would be fun to try and turn them into some posh pea shoots…the sort of thing a posh chef might adorn a risotto with. So, to the potting shed it was and into a shallow tray they went.

Pea Shoot Peas

Pea Shoot Peas Planted

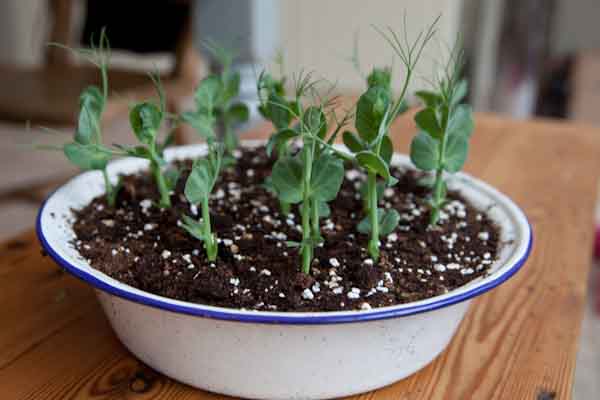
As well as looking stunning as a garnish on things like risotto or pasta, these peas shoots are really tasty added to a green salad.

posh pea shoots

Given a light trim they are a great little cut and come again crop to keep on the kitchen windowsill. I’ll definitely be planting some more over the coming months to keep our food well garnished!


Time to Sow

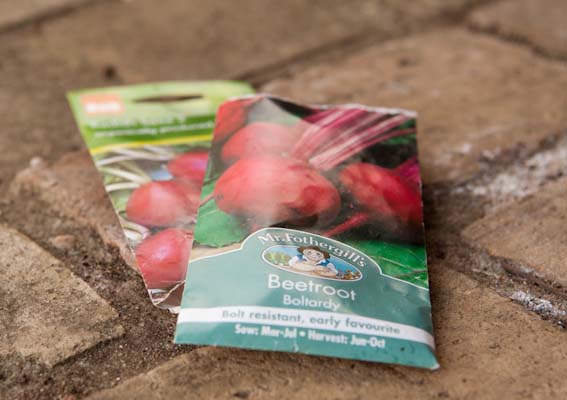
Well, with the noticeably warmer weather it’s definitely time to get some seeds in the ground. I’ve already got lots going in the greenhouse (more on that later) but have only now got round to getting some seeds in the vegetable patch. First in the ground this year are some Boltard beetroot and some Saxa 2 radish.

Radish & Beetroot Seeds

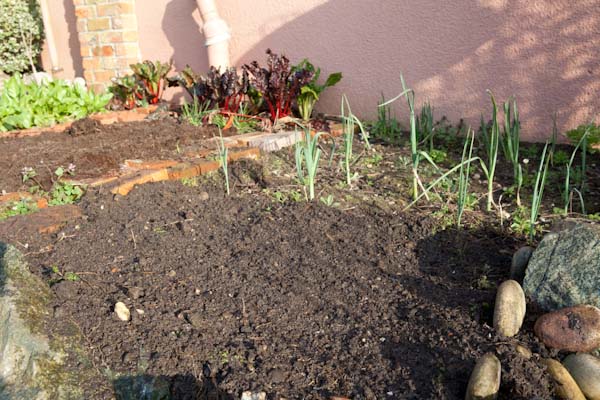
Veg Patch


As you can see in the bottom photo, last years perpetual spinach and chard are still growing strong and producing plenty of tasty leaves. Also there are even a few leeks that are finally getting anything near thick enough to eat.

I’m not sure why but I have failed the last two years to grow decent leeks, maybe i’m not watering them enough but they never seem to get much thicker than a pencil. The ground they were in was night and light, well dug with plenty of nutrients. I’m undecided if i’ll try again this year or give something else a go.

Planting 3 Types of Bulb in 1 Pot

Back last autumn I decide to plant up some spring bulbs. As well as dotting some around the garden I decided to try some container grown bulbs out. Not content with just one type of bulb i decided to up that ante and plant 3 different types in the same pot.

The aim was to end up with a couple of larger pots that produce a constant burst of colour right though spring. I simply planted the larger bulbs near the bottom and the smaller near the top of the container. In this case it was daffodils at the bottom, then tulips, then crocuses.


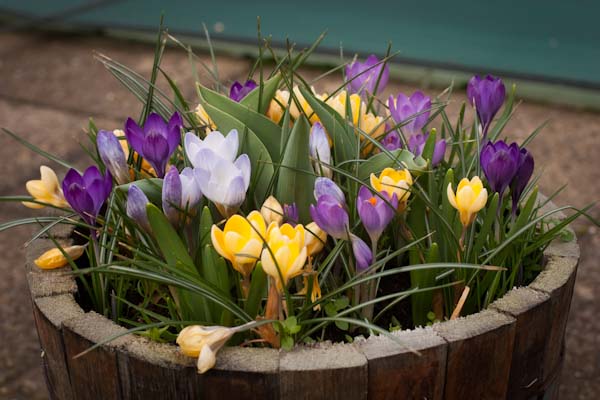
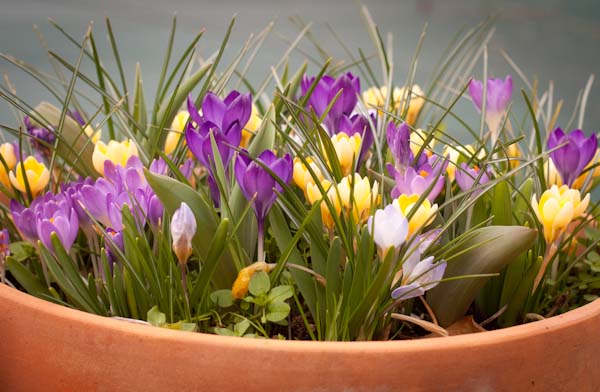
3 Bulb Spring Pots

Crocus Plants in Pots

Spring Bulbs in Containers


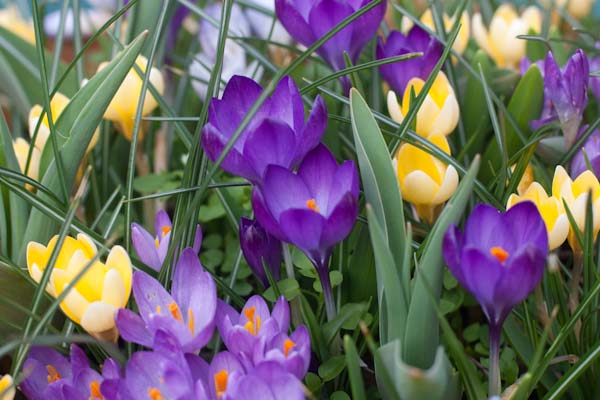
Well so far so good. As you can see the crocuses are in full bloom and being complemented well by the emerging foliage of the daffs and tulips. Hopefully these little pots will have plenty more colour left in them for a few more weeks.

My understanding is that once bulbs in containers have done their things it’s best to plant them out in the garden for subsequent years rather than try to preserve the bulbs and repot next year. I’ll leave them in the pots for a few weeks after flowering so the energy goes into the bulbs before planting the bulbs out in the garden.

I’ll definitely be growing bulbs in containers next year. Simply plant the bulbs up in Autumn and leave them outside all winter and you’ve got a burst of early spring colour ready to happen.